
English 
+86-157-6313-9515
lina@hezongmaterials.com
lina@hezongmaterials.com
26 Jiashan Road, Chucun Town, Weihai City, Shandong Province, China


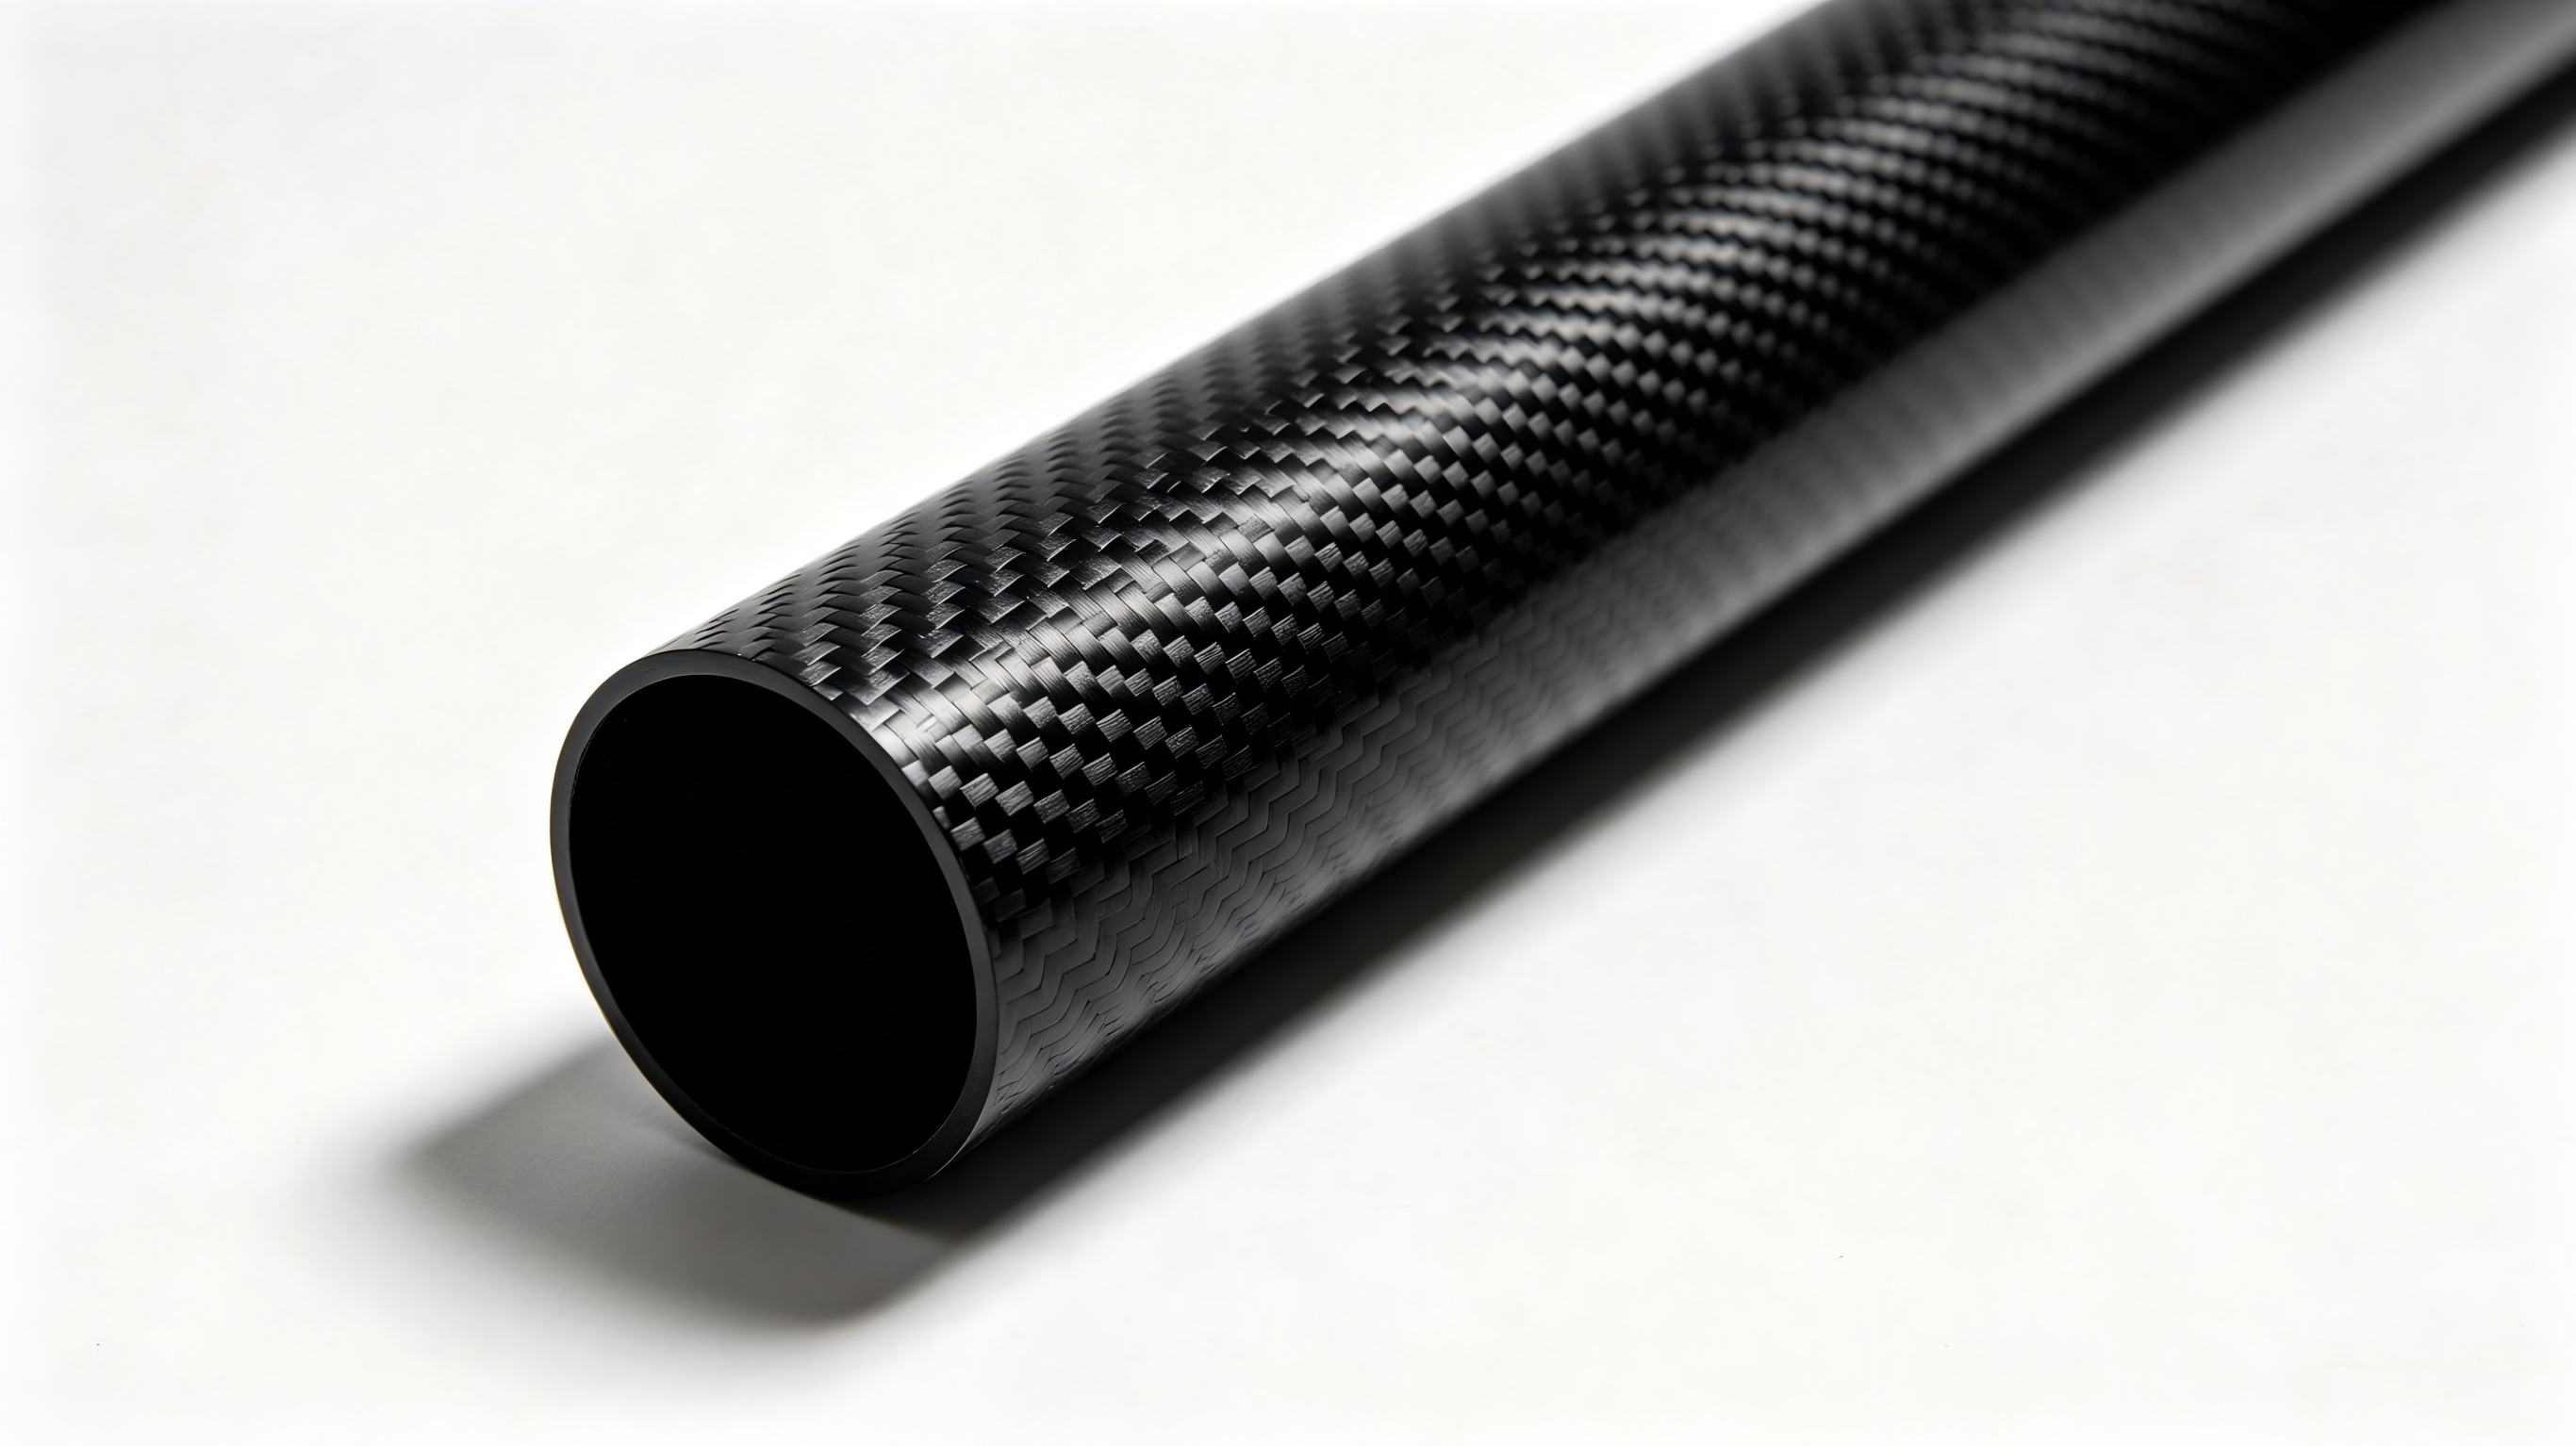
Cutting composite materials requires a delicate balance of mechanical precision and extreme caution. You are dealing with an incredibly abrasive matrix. It produces hazardous, highly conductive dust during processing. Poor cutting techniques often lead to expensive material waste. Common issues include structural delamination, backside blow-outs, and severe edge splintering. Furthermore, standard workshop tools suffer rapid degradation when improperly applied to these tough composites.
This article provides a definitive framework for selecting the appropriate cutting methods for your projects. We will guide you through everything from manual hand-tool fabrication to advanced CNC machining setups. You will learn how to effectively mitigate health hazards, prevent equipment failure, and handle environmental risks. We also cover essential techniques to achieve flawless, professional edges. Understanding these core principles ensures you maximize material yield. It extends your tool life and maintains a highly safe operating environment.
Tooling dictates yield: Standard metal blades wear out in minutes; diamond-coated or tungsten carbide tools are required for consistent cuts.
Precision logic: The industry standard for manual cutting is "cut slightly wide and sand back to the line" to prevent frayed edges.
Dust is a dual threat: Carbon fiber dust is a respiratory hazard and highly electrically conductive, posing severe short-circuit risks to workshop machinery.
Automated machining requires specific setups: CNC routing demands PCD (Polycrystalline Diamond) tooling and water-bath or misting systems for dust control.
Epoxy and composite dust act like microscopic splinters. They measure only a few microns in diameter. These particles easily bypass natural biological filters and penetrate human skin and respiratory tracts. Inhalation carries severe long-term health risks. Medical professionals often compare prolonged composite dust exposure to asbestos inhalation. Skin contact immediately causes acute itching and mechanical dermatitis. You must implement strict personal protection protocols before making a single cut.
Required PPE Baseline:
Long sleeves: Wear dense wool or dedicated Tyvek protective suits to block microscopic particles from reaching your pores.
Heavy-duty gloves: Choose thick leather over standard nitrile when operating power tools. Leather provides superior grip and tear resistance against sharp edges.
Eye protection: Mandate safety goggles or full face shields to prevent ocular micro-abrasions from flying composite chips.
Respiratory defense: Wear a well-fitted P100 or N95 respirator at all times during fabrication and cleanup.
Beyond human health, airborne particulate presents a massive facility risk. High-quality carbon fiber dust is highly electrically conductive. Unmanaged airborne dust will quickly infiltrate exposed electronics throughout your shop. It actively coats circuit boards inside routers, laptops, and cordless power tools. This conductive layer eventually bridges electrical contacts, causing severe short-circuits. Workshop machinery can easily be destroyed if ambient ventilation is inadequate. Always isolate your sensitive electronics from the active cutting zone.
Finally, consider your environmental disposal practices. Cured composites are entirely synthetic and not biodegradable. You cannot throw offcut scraps into standard municipal waste streams. Facilities must handle these materials properly. Seek out specialized composite recycling programs. Partner with appropriate industrial waste services to ensure responsible, compliant disposal of all generated waste.
Preparation directly dictates the final quality of your composite parts. Measuring accurately and marking clearly represent your first lines of defense against waste. We recommend using silver metallic markers directly on the surface. Standard metallic Sharpies provide excellent visual contrast against the dark, woven surface. Alternatively, apply high-quality masking or painter's tape over the intended cut path. Tape increases visual contrast and actively compresses the surface layer to reduce splintering.
Next, you must address the risk of backside blow-out. This phenomenon occurs when a cutting tool exits the bottom layer of the sheet. The downward mechanical force tears the unsupported bottom fibers. You prevent this by firmly clamping the sheet between rigid backing materials. Wood blocks, MDF, or hard foam insulation work perfectly. They securely support the lower fibers during the tool's exit stroke, ensuring a clean shear.
You must also employ the industry-standard tolerance buffer. Never attempt to cut perfectly on your final dimension line using standard power tools. The safest and most reliable approach involves a specific sequence. Measure and mark your exact final dimension. Draw a secondary line two to three millimeters outside that final mark. Perform your rough power cut along the outer secondary line. Finally, use abrasive blocks to sand the excess material down to the exact final dimension. This strategic approach guarantees perfect tolerances. It entirely eliminates the risk of ruined parts from wandering saw blades.
Tool selection ultimately determines your project's success. Standard metal blades simply cannot handle this highly abrasive material. Traditional toothed blades catch the fibers, rip the weave, and generate destructive heat. Below is a comprehensive breakdown of proper tooling tailored to specific applications.
| Tool Type | Best Application | Required Consumable / Blade Type |
Scissors / Shears | Ultra-thin sheets (≤ 0.5mm) | Smooth-blade Kevlar shears (No serrations) |
Manual Coping Saws | Internal cutouts on thin plates | Ultra-high TPI hacksaw or abrasive grit blade |
Rotary Tools (Dremel) | Precision curves, small fabrications | Diamond-coated cutting wheels |
Jig Saws | Tight corners on thicker plates | Carbon fiber-specific carbide blades (e.g., Bosch) |
Let us explore scissors and shears first. They face extreme physical limitations. You should only use them for ultra-thin laminates measuring 0.5mm or less. Avoid serrated edges completely. Serrations will crush, crack, and permanently damage the rigid epoxy matrix on thicker sheets.
Manual hand saws and coping saws excel at straight lines or internal cutouts on prepreg or thin plates. However, you cannot use standard wood or soft-metal blades. You must use fine-grit abrasive blades. Ultra-high TPI (Teeth Per Inch) hacksaw blades also work adequately. If you are executing internal cutouts, always pre-drill a pilot hole first. This allows you to safely pass the coping saw blade through the material.
Rotary tools remain essential for precision curves and small-scale fabrication. Standard abrasive metal-cutting wheels burn up almost instantly in composites. They generate excessive heat, binding, and toxic smoke. We recommend diamond-coated cutting wheels instead. You can often find these marketed specifically for tile or masonry cutting. They drastically increase tool lifespan and produce exceptionally clean edges without heat damage.
For rapid straight cuts and tighter corners on thicker plates, reach for angle grinders and jig saws. Angle grinders equipped with standard metal cut-off wheels work incredibly fast. However, they throw massive amounts of conductive dust and sparks. A full face shield is mandatory during this operation. Jig saws are perfect for sweeping internal profiles. Standard jig saw blades will unfortunately burn out after cutting just three to four feet of material. You must mandate the use of dedicated carbide blades. The Bosch T108BHM3 is a proven industry standard. It increases tool life tenfold. Ensure you source premium carbon fiber sheets to ensure consistent density during these aggressive cutting operations.
Automated machining requires entirely different operational strategies. Uncoated carbide bits dull rapidly due to extreme mechanical abrasion. Continuous production routing demands specialized cutters to maintain profitability. You need PCD (Polycrystalline Diamond) coated tooling. Burr-style solid carbide downcut bits also perform exceptionally well. Downcut geometry pushes the cutting force downward into the spoilboard. This action actively compresses the laminate layers, completely preventing top-layer delamination.
Establishing baseline feeds and speeds prevents tool burnout and material burning. For a standard 1/16-inch sheet, start with a 10,000 RPM spindle speed. Pair this with a conservative 60 inches-per-minute feed rate. Monitor your chip load closely and adjust your parameters based on edge quality.
Dust mitigation is absolutely critical during CNC routing. Wet cutting is the preferred professional solution. You can easily implement the "water bath" technique for smaller CNC setups. Submerge the cut area entirely in a shallow pan of water. Many fabricators thicken the water bath with cornstarch. This clever adjustment increases fluid viscosity, preventing the spinning tool from splashing water upward into the router housing. Large industrial setups should rely on professional mist-coolant systems. These systems trap microscopic dust at the cutting source while simultaneously lubricating the bit.
Waterjet cutting offers a fantastic mass-production alternative. It is faster and generally cheaper than CNC routing. Best of all, it produces zero airborne dust. However, you must implement specific risk mitigation strategies before running a job. Direct waterjet piercing causes extreme localized delamination. The ultra-high-pressure stream forces water horizontally between the laminate layers before it successfully cuts through the bottom. The solution requires a secondary step. Pre-drill all your starting holes using a traditional machine press. Run the waterjet path starting precisely from these pre-drilled voids.
Mechanical cutting is only the first phase of fabrication. The raw edge left behind is sharp, highly porous, and vulnerable to degradation. Proper edge finishing ensures safety, aesthetic appeal, and structural longevity.
Sanding progressions help you dial in exact final dimensions smoothly. Start the process using coarse 120-grit sanding blocks. Move slowly to level the edge and remove any minor tooling marks. Progress upward through intermediate grits. Finish with 400-grit wet/dry sandpaper for a smooth, professional touch. Wet sanding is highly recommended here. The water traps residual dust, provides lubrication, and creates a vastly superior surface finish. You can apply specialized polishing compounds afterward for true cosmetic perfection.
Sealing those finished edges is equally critical. Exposed cut edges easily absorb ambient moisture over time. They may slowly delaminate when placed in harsh operating environments. Marine, automotive, and aerospace applications demand perfectly sealed edges to maintain structural integrity.
The execution of edge sealing is straightforward. Mix a small batch of high-quality two-part epoxy resin. Apply a very thin, consistent layer along the cut boundary using a lint-free wipe. The liquid resin soaks into the exposed woven strands. This action seals the matrix and protects the interior fibers from environmental degradation. You can easily source specialized sealing epoxies alongside premium carbon fiber supplies for guaranteed chemical compatibility.
Certain tools will instantly ruin your expensive composite sheets. Understanding what methods to avoid completely saves time, money, and immense frustration.
Never use laser cutters on cured composite laminates. Lasers operate via extreme, localized thermal energy. They burn, melt, and vaporize the epoxy resin long before they can physically sever the actual carbon strands. This thermal damage leaves a deeply charred, structurally compromised edge. The resin recedes away from the cut line, leaving frayed, unsupported structural strands behind.
Wire cutters and pliers are absolute dealbreakers. You must avoid these crush-force tools entirely. Using them on anything thicker than paper-thin material causes immediate, catastrophic failure. The crushing mechanical action instantly splinters the intricate weave. It forcibly separates the laminate layers, leaving dangerous, needle-like barbs protruding from the edge. This careless approach ruins the structural integrity of the entire component. Stick strictly to abrasive cutting methods.
Successful processing relies entirely on three foundational pillars. First, you must select the correct abrasive tooling tailored specifically to your material thickness. Second, you must enforce strict dust management protocols to protect your health, your employees, and your delicate machinery. Finally, you must practice patient post-cut finishing techniques to achieve precision tolerances safely. Rushing the cut with improper tools always leads to damaged material.
Evaluators and shop managers should take immediate action based on these guidelines. Audit your workshop's ventilation systems and electrical shielding today. Validate these safety measures before purchasing any new composite materials. Most importantly, invest upfront in proper diamond-coated or specialized carbide tooling. Having the right abrasive tools on hand prevents costly waste and ensures perfectly fabricated parts every single time.
A: Never cut straight down. Use a rotational cutting technique—spin the tube against the abrasive blade. This is especially critical for pultruded tubes, which will crack longitudinally if cut straight through. Maintain steady pressure and let the abrasive edge do the work gradually around the circumference.
A: No. While outdoor ventilation helps, the microscopic nature of carbon fiber dust requires a P100 or N95 mask minimum, regardless of the environment. Ambient wind cannot reliably clear respirable particles before inhalation. Wet-cutting is the best supplementary defense alongside proper PPE.
A: For occasional holes, standard HSS (High-Speed Steel) can work but dulls quickly. For production or large holes, tungsten carbide hole saws or step-bits are required. They resist extreme abrasion and shear the composite cleanly without catching and lifting the top laminate layers.


